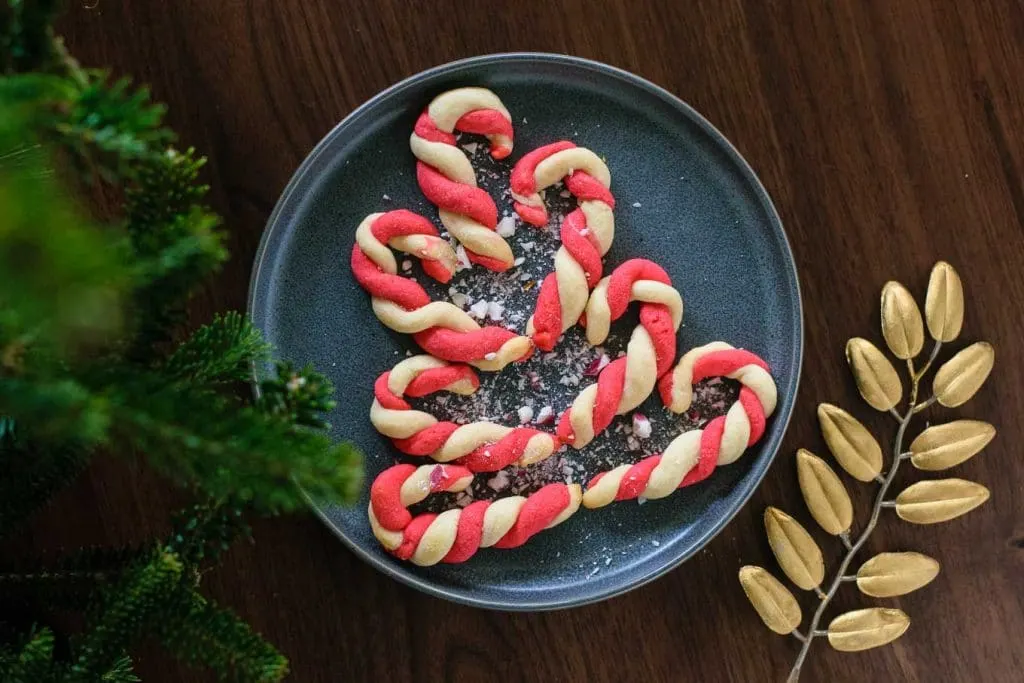
It’s December and we’ve reached full out cookie-I mean holiday-season. Omar and I got a Christmas tree (our first ever together! Yay for having a house!), and decorated it over the weekend. We put on the Swedish Christmas carols I grew up listening to (though I’m not at all Swedish, my mom grew up in Minnesota, and as a result, a lot of our holiday traditions have Scandinavian influences) and drank spiked mulled cider while placing our woodland themed ornaments around the tree. All these cozy, homey, holiday vibes put me in the mood of baking up some holiday cookies.
Every December growing up, my sisters and my cousin and I would each get to choose a recipe to bake from an old Better Homes and Gardens “Cookies for Christmas” recipe book. We’d have an evening of baking and end up with 4 kinds of cookies and bars to enjoy. My mom no longer has the book, but some of the cookies we’d choose every year are seared into my memories. This candy cane cookie recipe in particular brings up nostalgic memories of baking with my sisters and cousin, as every year without fail, someone would pick this recipe to bake! And can you blame us? They’re pretty and delicious!
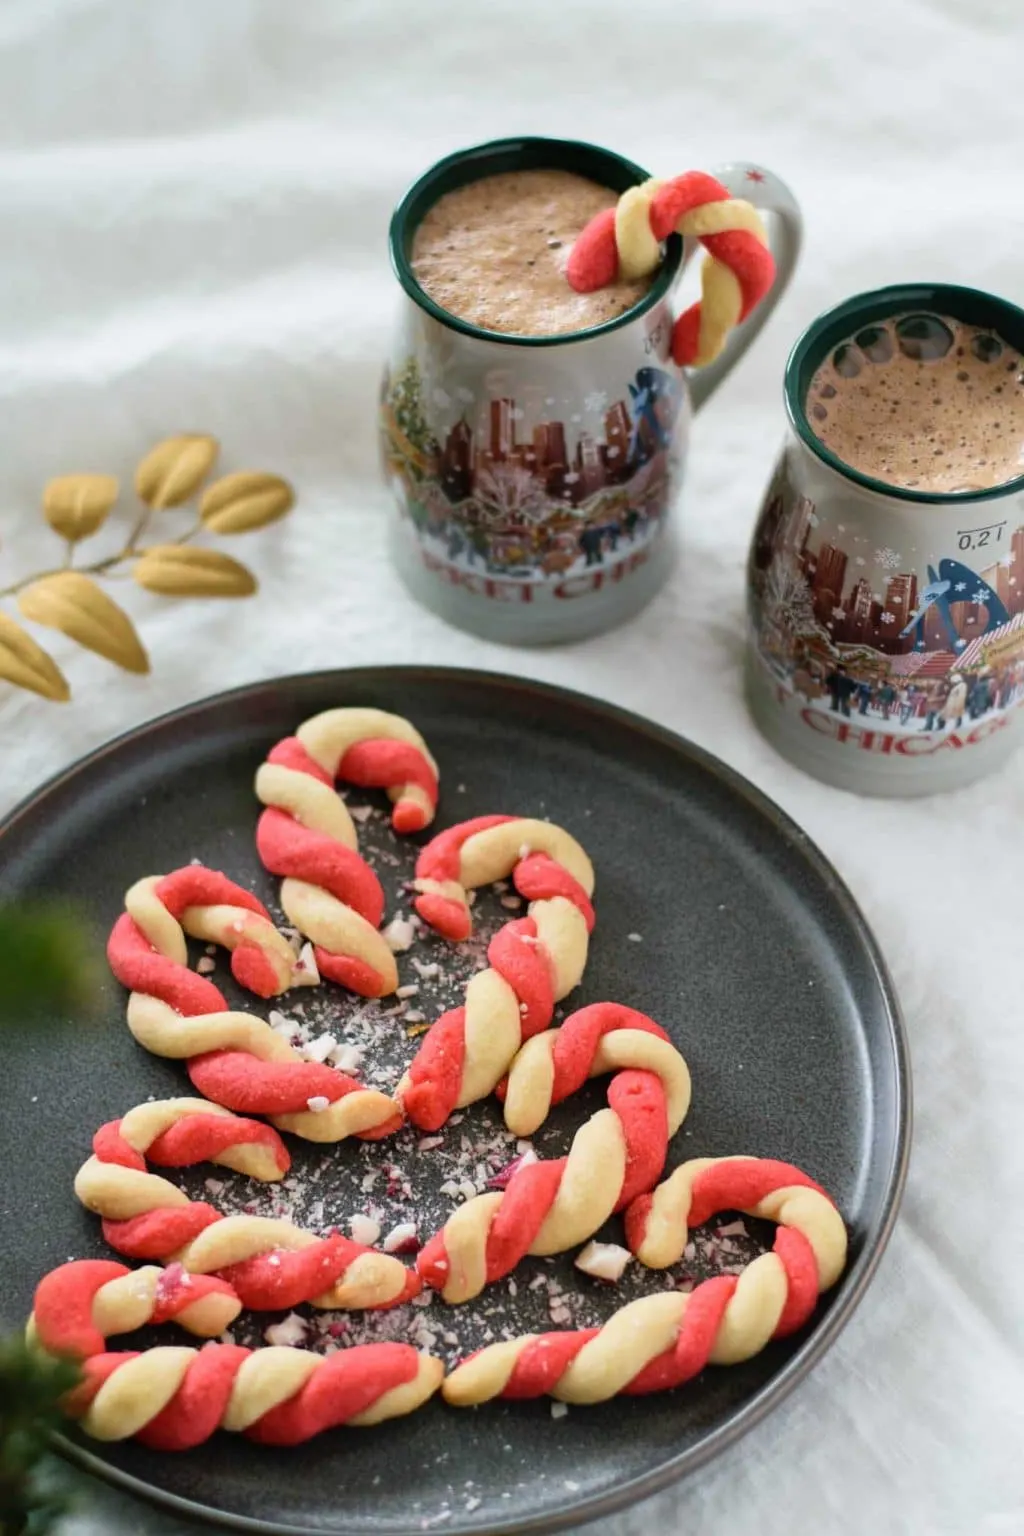
I no longer have access to that Better Homes & Garden book (which, I just found out dates back to my older sister’s birth year <3), so I had to scour the internet for versions of this cookie to tackle and veganize. An old Betty Crocker recipe seemed to best fit the bill, though the original version was a bit elusive and easier found in comments and on other blogs than in the official website version. But, I had changes I wanted to make anyway, since my years of using eggs to bake cookies are long behind me. Yay for chickens!
For a genuine peppermint candy cane cookie texture, I needed to use powdered sugar. Powdered sugar contains corn starch (to prevent caking), and that starch tenderizes the proteins in wheat flour, to create a more crumbly and delicate texture in the final cookie. Powdered sugar also dissolves more quickly into the fat during the creaming process, and spreads less than a cookie made with granulated sugar, which is exactly what we want in this candy cane cookie recipe! I added almond flour, which may not be the most traditional ingredient in this recipe, but makes the final texture of the cookies chewy and tender, which I love. As for the egg, I simply left it out, replacing some of that liquid with a splash of non dairy milk.
I find that vegan butter is a bit softer to work with than its cow’s like alternative, so there’s a somewhat delicate balance between warming and softening the butter so it can be whipped and remain pliable (in the final cookie dough) without warming up to the point where it’s difficult to work with. A short 15 minute rest on the counter is all the softening my vegan butter needed, and quick trips in the freezer before (and maybe during) shaping are a quick way of chilling the dough so it’s easy to roll out into thin ropes. Honestly, you probably don’t have to worry too much about over chilling vegan butter, so if you want to make the dough in advance you can store it in the fridge, tightly wrapped, for a day or two before shaping and baking.

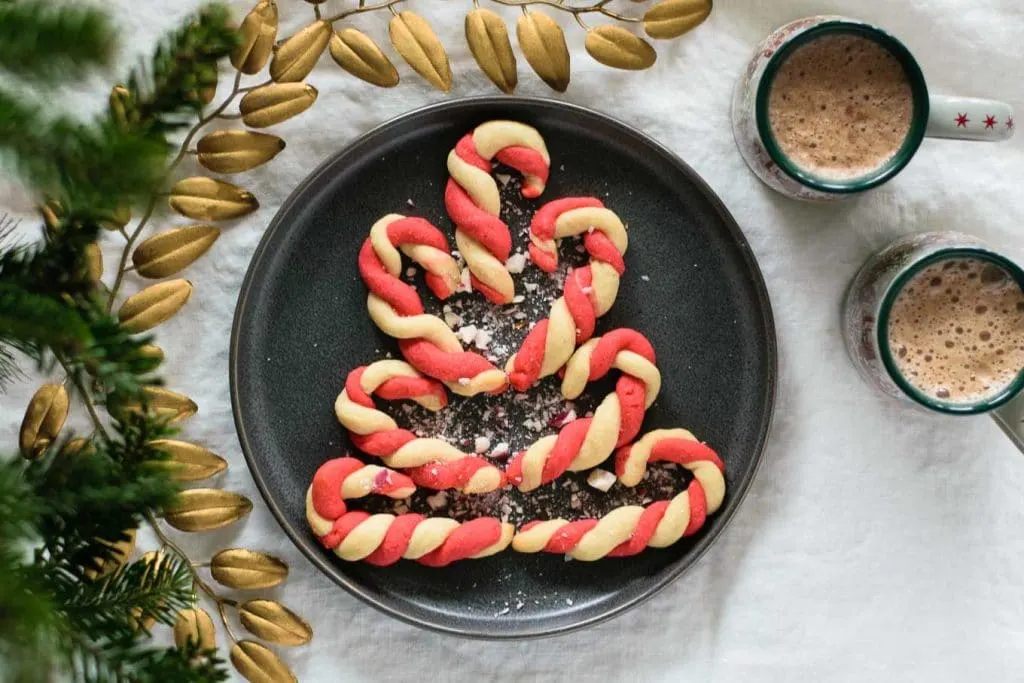
These candy cane cookies have a little crispness around the edges, but practically melt in your mouth when you eat them. The delicate sweetness is perfectly balanced with the scent of vanilla and subtle notes of peppermint. They’re the perfect cookies for snacking on, or perhaps one of the more dangerous cookies for snacking on (depending on your perspective), as they aren’t too sweet. They’re delicious dipped into some hot chocolate, or into your morning/afternoon coffee. I find the cookies to be best after spending a night in a sealed container. The flavors meld and develop and the cookie texture achieves that ideal balance between crispy and chewy.
Do you have any nostalgic holiday traditions? I’d love to hear about them! Maybe over a peppermint candy cane cookie or two? Let me know if you make these cookies! You can comment below, or find me on Instagram (or share with #thecuriouschickpea), or Facebook! Happy holidays!

Notes:
- I used soy milk to make the cookies, but any plant milk should work.
- If you don’t like the taste of peppermint, you can substitute 1/4 tsp almond extract for the peppermint extract. It’ll go perfectly with the almond flour!
- I used Earth Balance Buttery Sticks in this recipe, while other vegan butters should work, avoid tub and spread-butters as they have too much liquid in them for baking.
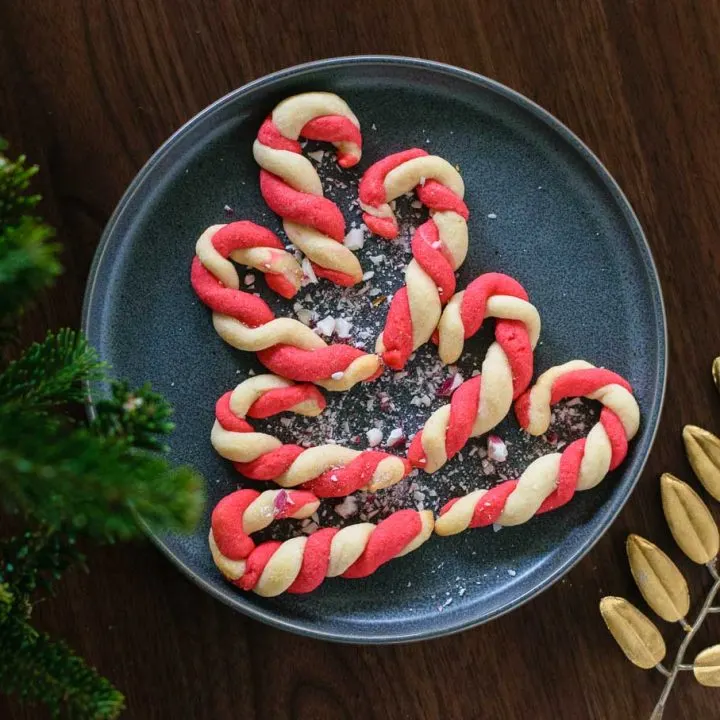
Vegan Peppermint Candy Cane Cookies
A blast from my past, these cookies are subtly minty and shaped to look like candy canes. They're a delicate balance between crispy and chewy for the perfect holiday cookie!
Ingredients
- 1/2 cup (113g) cold vegan butter
- 1 cup (120g) powdered sugar, sifted
- 2 tbsp (30g) plant milk
- 1/2 tsp vanilla extract
- 1/2 tsp peppermint extract
- 1 1/2 cups (185g)* all purpose flour
- 1/2 cup (56g) almond flour
- 1/4 tsp (1g) salt
- red food coloring*
Instructions
- Leave the vegan butter out to soften for about 15 minutes while you gather the rest of your ingredients. If left out longer to soften you may need to chill your dough for longer before shaping.
- Preheat the oven to 375 ºF with a rack positioned in the middle and prepare 2 baking sheets by lining with parchment and set aside.
- In a large mixing bowl or a stand mixer, add the vegan butter, the sifted powdered sugar, the plant milk, the vanilla extract, and peppermint extract. Beat on low until the powdered sugar is incorporated, then turn speed up to medium in a stand mixer or high on a handheld beater until the mixture is creamed and fluffy.
- In a second mixing bowl whisk together the all purpose flour, almond flour, and salt until combined.
- Add half of the dry ingredients to the wet ingredients and beat on low until incorporated. Add the rest of the dry ingredients and beat on low until combined and a smooth dough is formed.
- Take half of the dough and transfer it to the second mixing bowl. You can weigh the dough to divide it so as not to end up with extra dough of one color at the end. Add red food coloring to half the dough and mix it in with the handheld or stand mixer to incorporate, adding more if necessary until you get your desired color and saturation.
- Place both mixing bowls in the freezer and let chill for 15 minutes so that the cookies are easier to shape.
- Once the dough is firm enough to easily handle, shape the cookies. Take 1 tsp of each color and roll into matching ~4" ropes. Place the strands next to each other and twist. Transfer the twisted rope to the prepared baking tray and fold down the top third to create a hook. Repeat with the remaining dough to fill the baking tray, leaving ~1 1/2 inches between each cookie, as they won't spread much. I like to shape half of them hooking to the right and the other half to the left, but this is personal preference. Shape your second batch of cookies while the first are baking. At any point, if the dough is warming up and gets more challenging to shape, you can place it back in the freezer for 5-10 minutes to firm up again.
- Bake the tray of cookies on the center rack for 7-9 minutes, or until the bottom and edges take on the faintest shade of golden. Time can vary depending on your oven, so keep a close eye on them in the last few minutes of baking. Let the cookies cool for 5 minutes on the baking tray, then gently transfer to a wire rack to cool completely. Follow the same instructions for the second tray of cookies.
- Note: You can prepare your dough in advance and wrap tightly and store in the refrigerator until ready to shape and bake cookies. You can also bake both trays of cookies at the same time with one oven rack set one place up from the middle and a second rack one spot lower. Rotate the baking sheets halfway through baking.
- Store cooled cookies in an airtight container, I actually find that they taste better after the first day!
Notes
*Decrease the all purpose flour to 1 1/4 cups (155g) for a softer and more delicate cookie that spreads a bit more while baking. Using the listed 1 1/2 cups of flour will result in well-defined strands and a slightly crisper cookie.
*for the red food color, I used Wilton Gel Colors which are vegan friendly, but you could use beet powder or juice for a more natural look if you'd prefer (note: I have not tested the recipe with beet coloring)
Recipe adapted from an old Betty Crocker recipe


Selena
Saturday 3rd of December 2022
Have you ever made these gluten free? I’d love to hear what flours you’d recommend. These cookies also hold a plethora of childhood nostalgia for me and I’d love to make them for my son. Thanks for the help!
Sara C
Sunday 12th of December 2021
Can you substitute the peppermint or almond for a little more vanilla? I remember these as a kid, but I don't believe they were flavored...more sugar cookie flavor.
Eva Agha
Sunday 12th of December 2021
Of course, I think you could skip the peppermint extract and use 1 tsp vanilla extract and you’d get a vanilla sugar cookie. If you don’t want any almond flavor it should be fine to substitute the almond flour for additional all purpose flour.
cynthia
Tuesday 24th of December 2019
my dough came out really crumbly and dry and it’s hard to shape because they just break. What do I do to save Christmas!!?
Eva Agha
Tuesday 24th of December 2019
Hi Cynthia, I’m sorry that happened! I would just add a bit more milk and beat it into the dough until it’s no longer crumbly. It should be stiff enough to shake but soft and pliable, a bit like playdough.
Ashes
Tuesday 24th of December 2019
We have a nut allergy in the house. Can we just skip the almond flour and sub regular flour instead? Thanks :)
Eva Agha
Tuesday 24th of December 2019
Yes! Just use an extra 1/2 cup of flour instead. :)
Amelia
Monday 19th of November 2018
I baked these at altitude tonight and I used the higher amount of flour, no other changes in the recipe, and they turned out perfectly!