These vegan raspberry scones are buttery with a tender interior and crispy exterior. They’re quick and simple to make, and perfect for an afternoon snack or extra special breakfast.
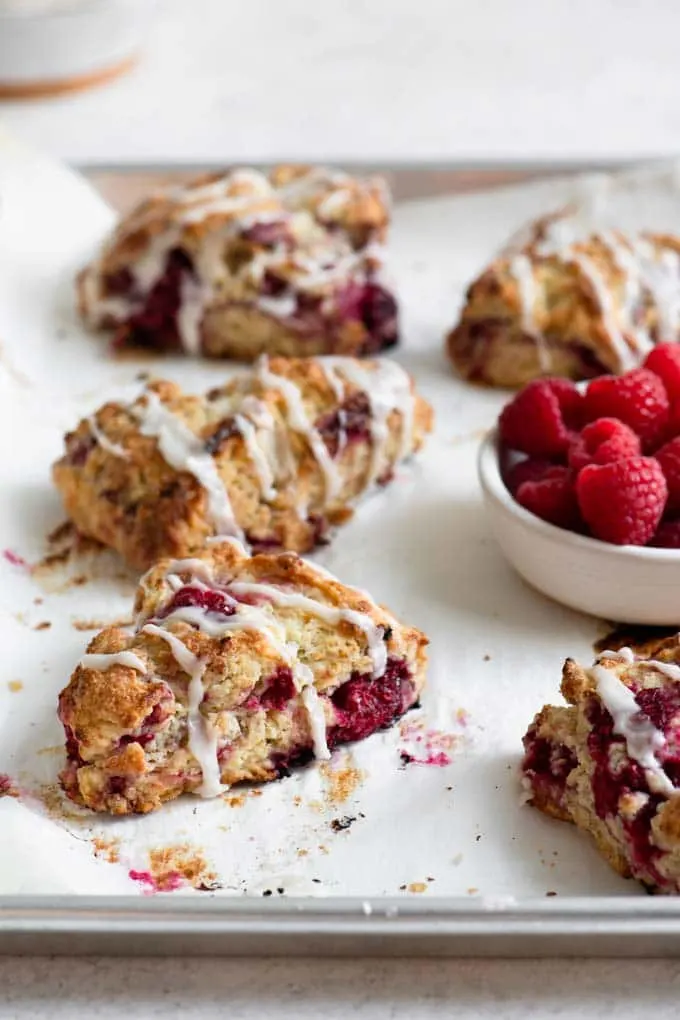
When it comes to putting fruit in muffins and scones, raspberries are my favorite. The tart-sweet juicy bursts they bring to the treat can’t be beat!
And when it comes down to it, it does not get better than these buttery raspberry scones!
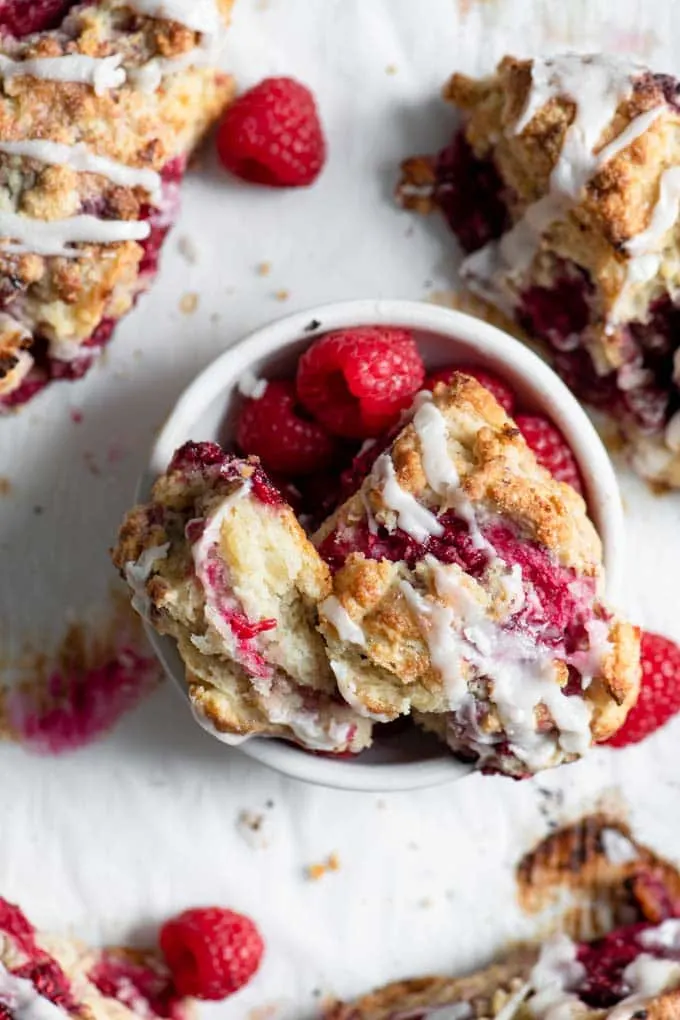
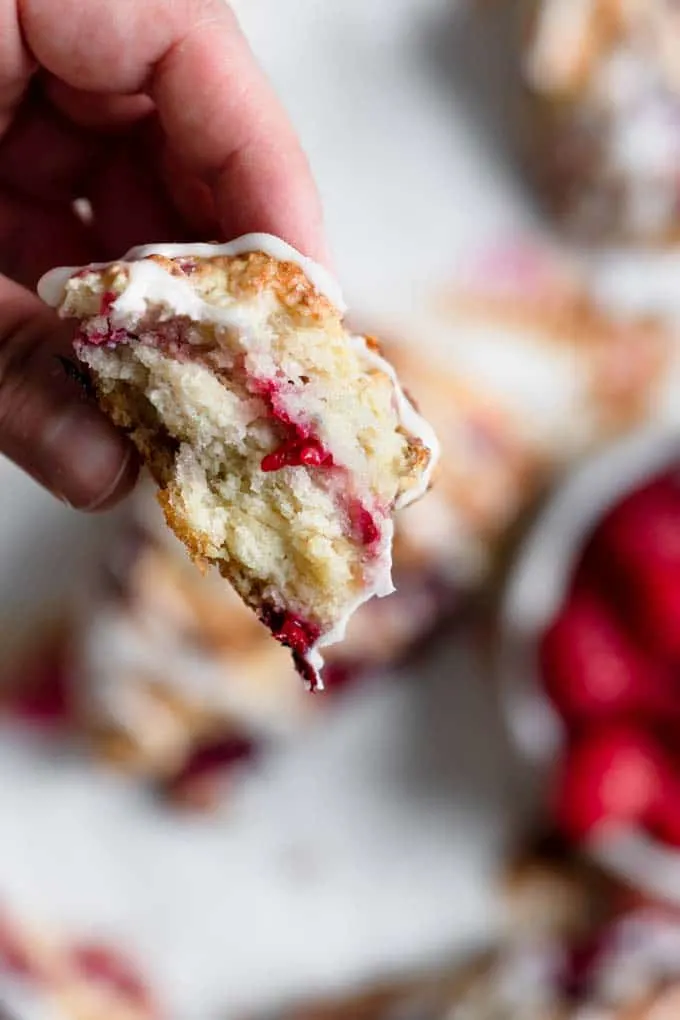
They have a slightly craggy and crispy exterior white being perfectly fluffy and tender on the inside.
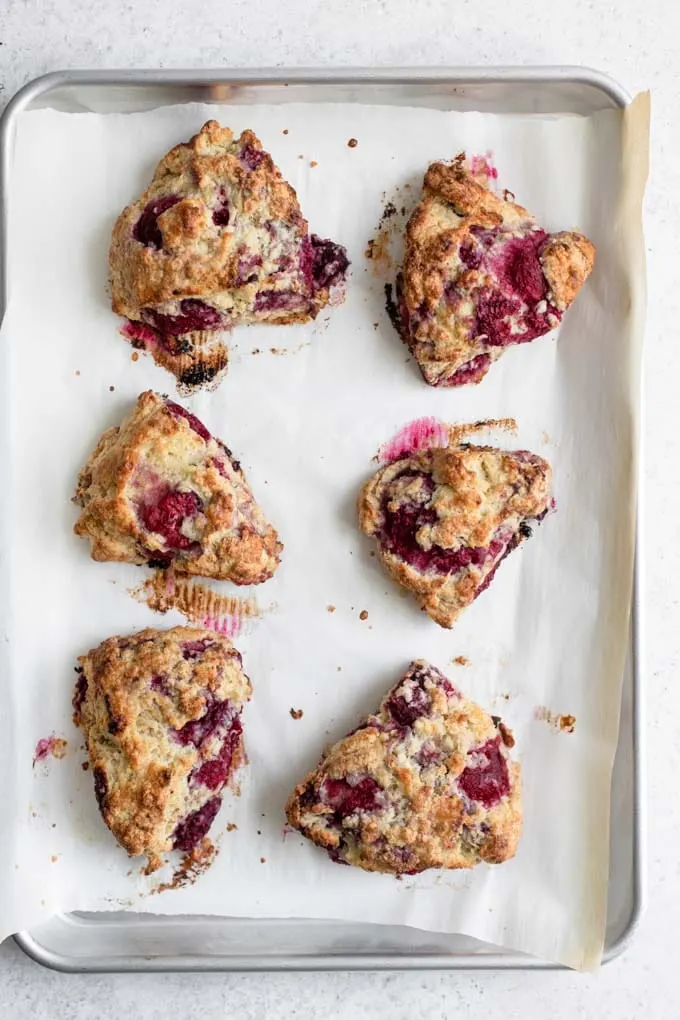
These scones can’t help but look a bit rustic with raspberries bursting out at the edges, their pink juice staining the scones and caramelizing against the baking sheet.
The base scone:
These scones are quite similar to my homemade vegan biscuits and strawberry shortcake.
The ingredients are almost the same, but the method is a bit different, and of course, these guys are stuffed with berries!
You start the same as you would any biscuit (talking American biscuits here, not British) or scone recipe.
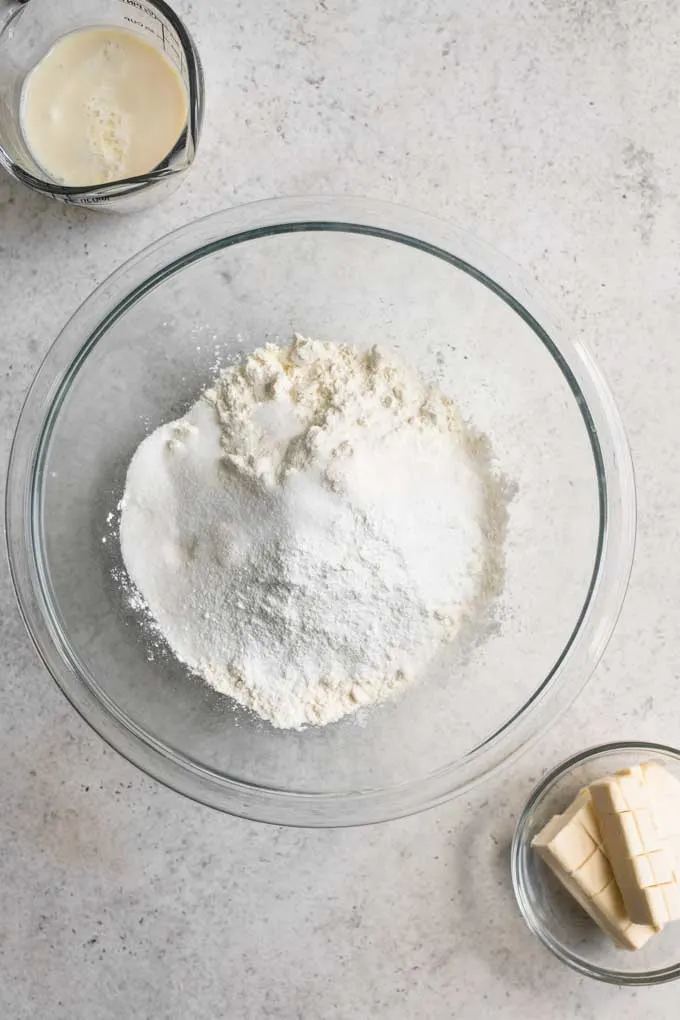
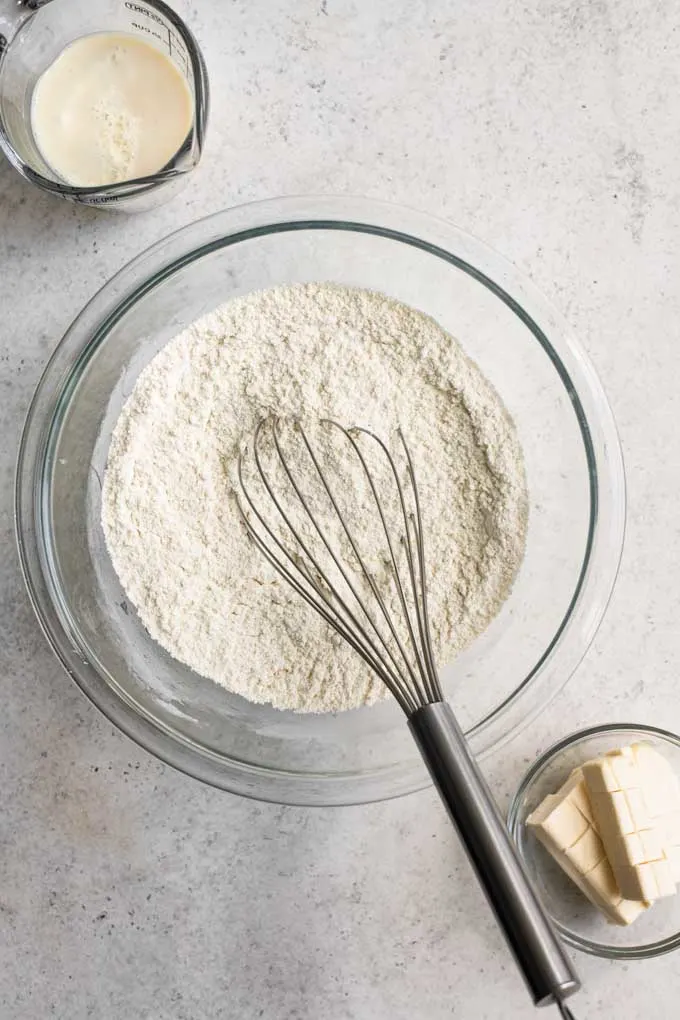
Mix your dry ingredients together, fluffing them up with a whisk.
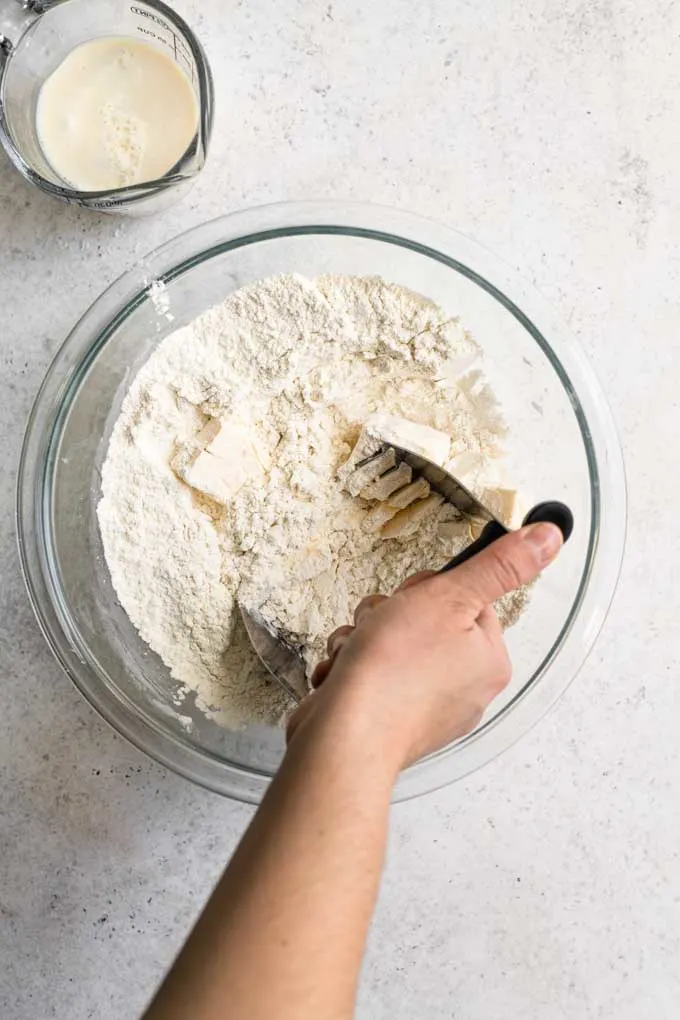
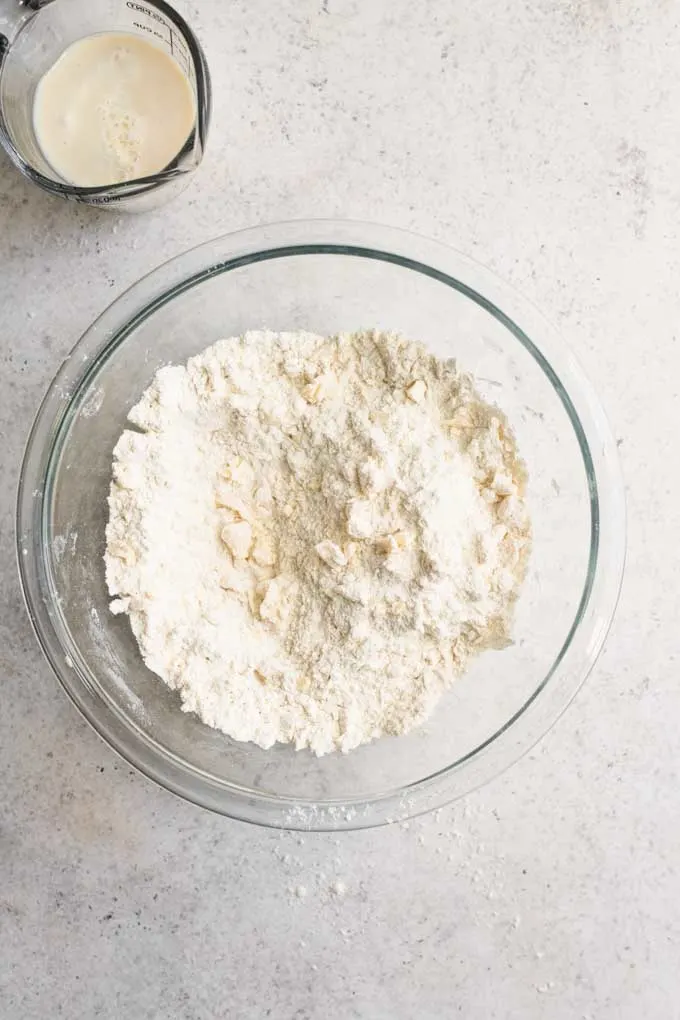
Now you’ll cut vegan butter into the dry ingredients. Add diced pieces of cold vegan butter and use a pastry cutter or two opposing butter knives to cut the butter into small pebbly pieces, incorporating it into the flour.
If you must you can just your hands, but your hands will cause the butter to start to melt (particularly if you run warm) which means less flaky and less tender scones.
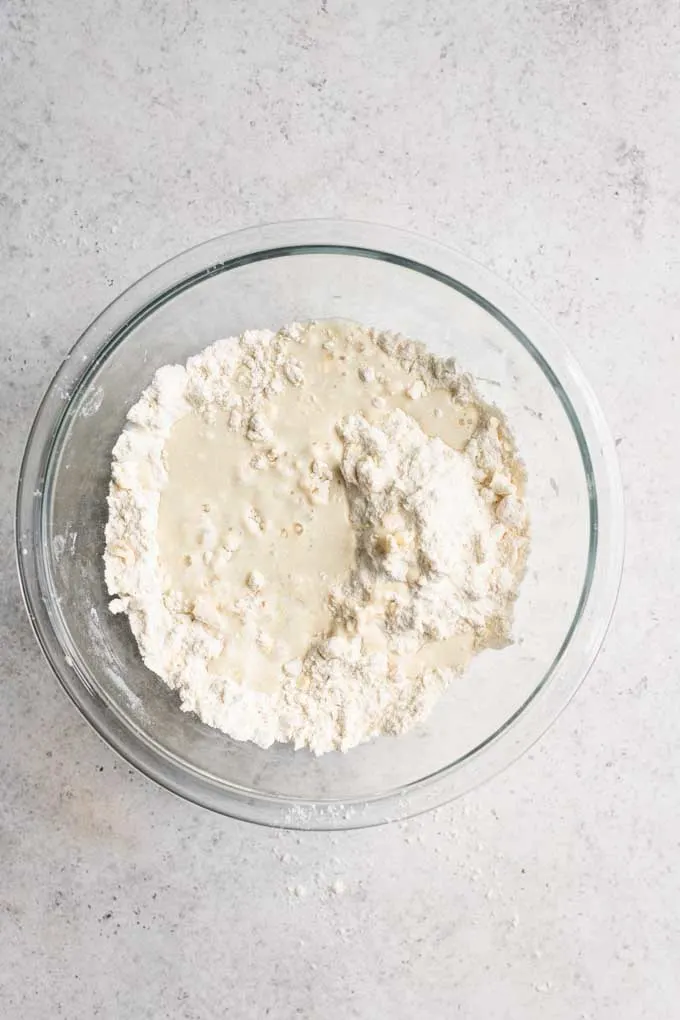
Next, you add your vegan buttermilk, which is a mixture of non-dairy milk and apple cider vinegar* left to sit for 5-10 minutes to clabber. Soy milk, almond milk, and oat milk work best for making vegan buttermilk.
*You can use lemon juice or another mild tasting vinegar if you don’t have apple cider vinegar.
You’ll gently fold in the buttermilk, and any extracts you are using (they’re optional, more about them in a moment). Use a spoon or a silicon spatula to gently fold the ingredients together.
Add the berries:
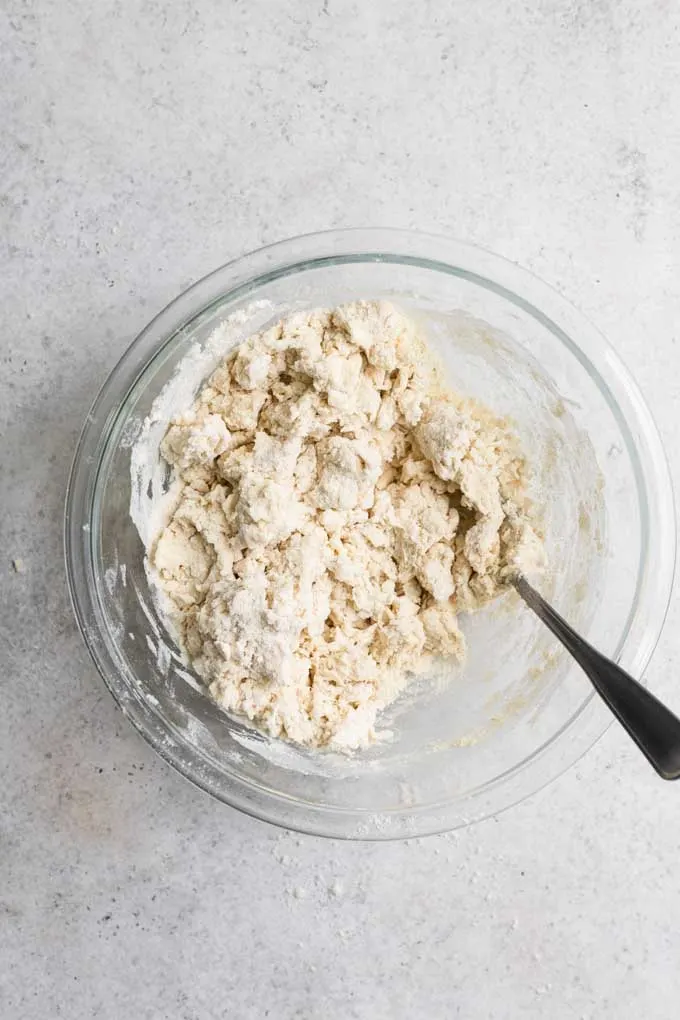
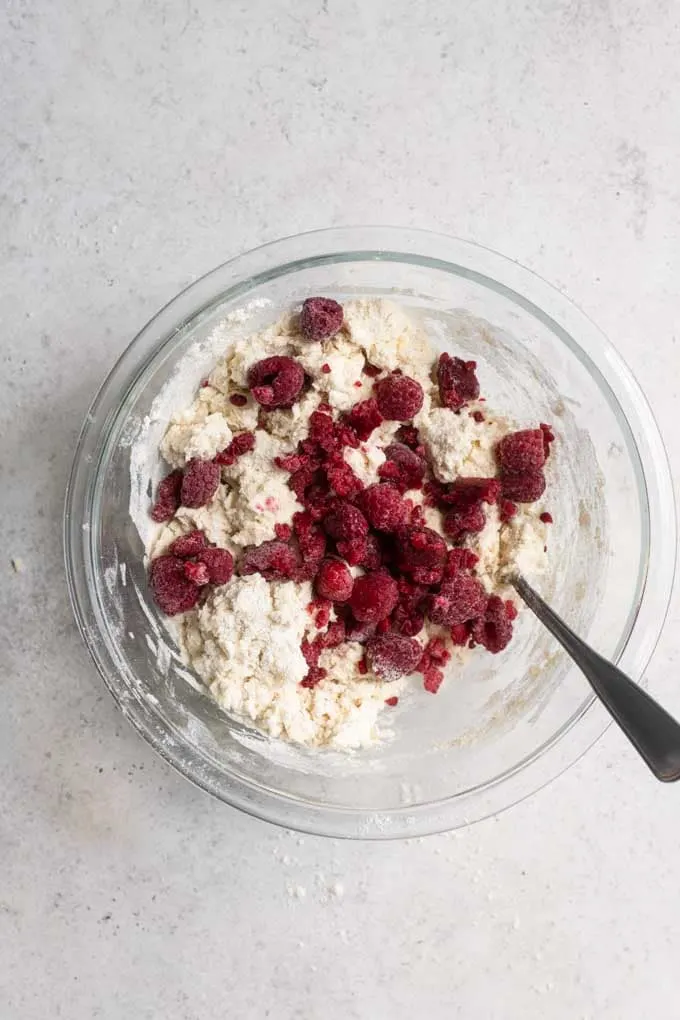
When the mixture is starting to come together and form bigger lumps, and very few spots are left powdery and floury you’ll add the raspberries.
If large dry spots are left, you can add a bit more milk, just 1-2 teaspoons at a time, gently incorporating it into the dry areas. Only when most of the flour is starting to clump together do you add the raspberries.
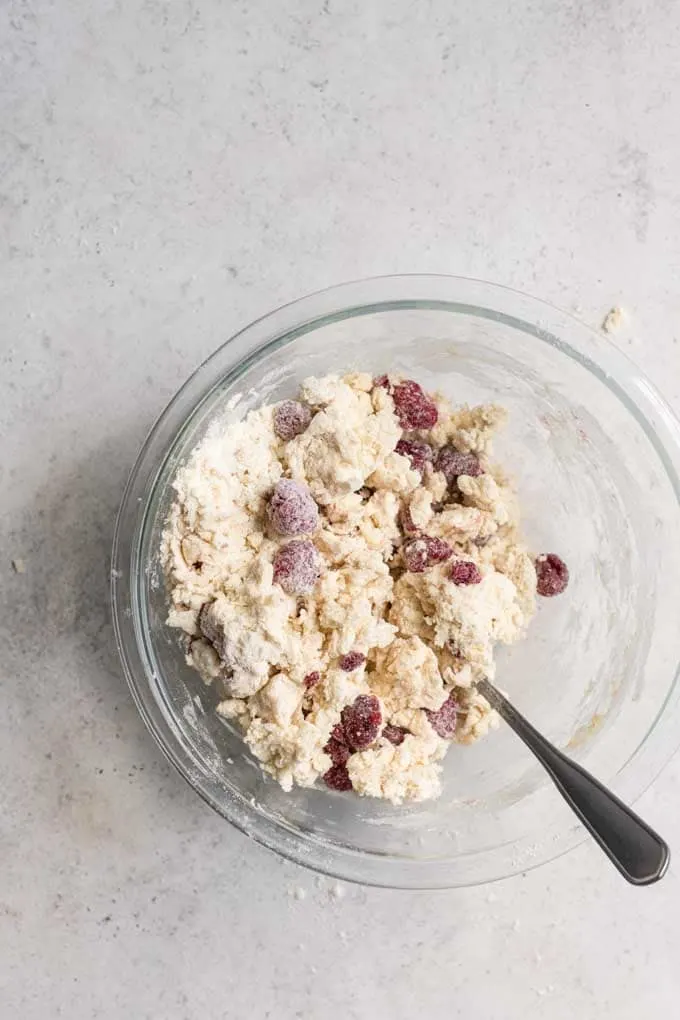
Gently fold the raspberries into the soft dough, it’s easiest to do this with a silicon spatula. I use frozen raspberries, but there’s not reason you can’t use fresh, they may just be more delicate to handle (depending on how ripe they are).
If you’re adding any other mix-ins to your scones (getting to that in a moment!), add them with the berries.
Once the berries are mixed into the dough it will still look like a clumpy mess. Don’t mind that it doesn’t look like it’s coming together yet, it will! Unless there are dry powdery spots, then you can still add a bit of milk to those spots.
Turn the dough onto a clean and lightly floured counter or cutting board. You can also do this on parchment if you want, but honestly I just do that for the photos and to keep raspberry stains off my photo boards ?.
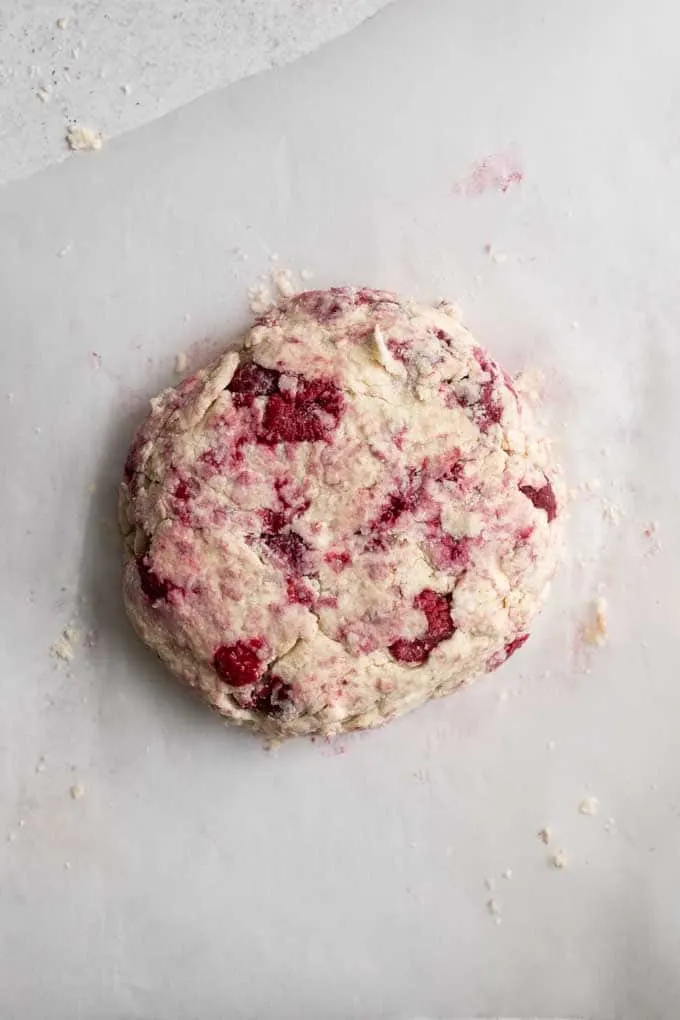
Use your hands to gently knead the dough together into one cohesive mass, and bring it into a round shape. It should be about 6 to 7 inches in diameter and about an inch or inch and a half in height.
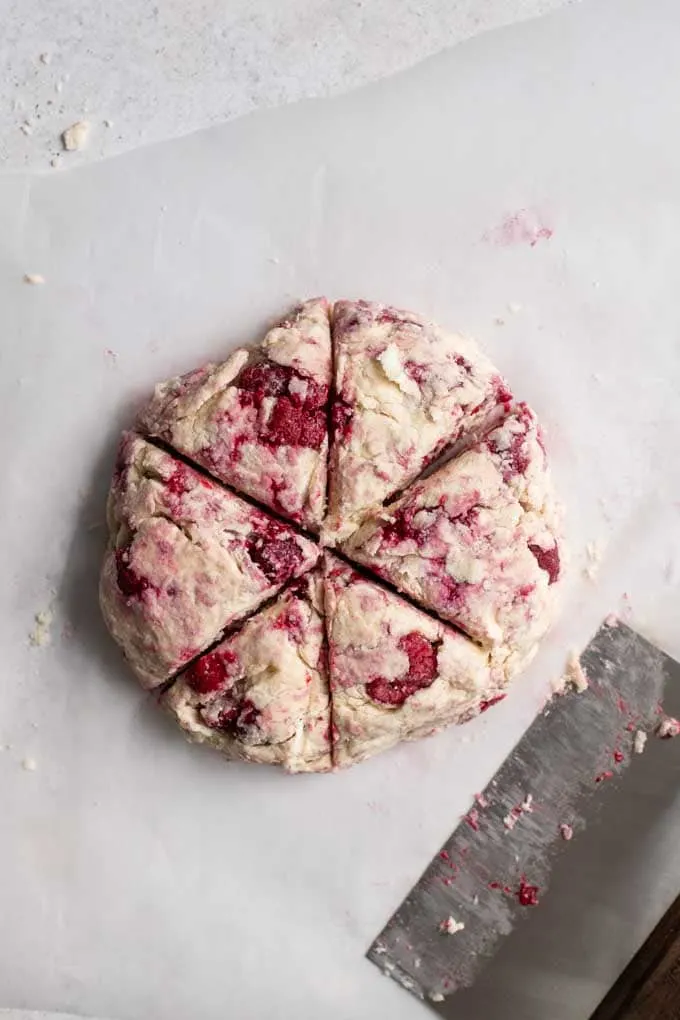
Cut the disc of dough into 6 pieces. I use a bench scraper but a knife works just as well. You’ll have to slice through the raspberries, so make sure the cuts look clean and poke any haphazard berries back into the dough.
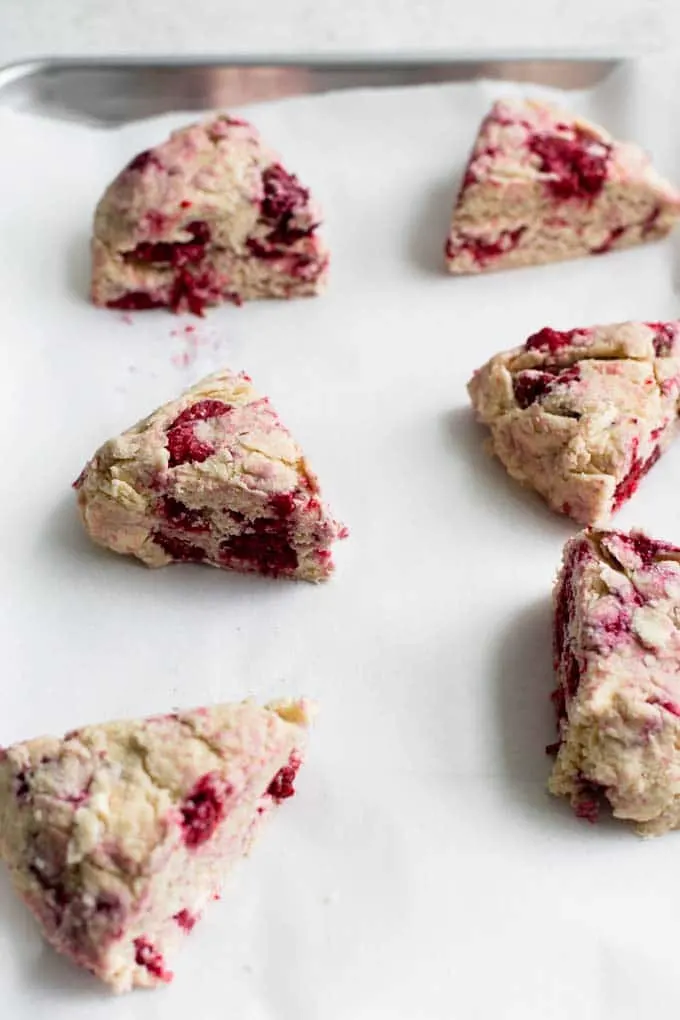
Bake your scones. Then decorate them.
To try and help the scones hold their shape during the bake, and if not in a huge rush, stick the scones in the freezer for 5-10 minutes before baking. You can do this while the oven preheats, and it helps keep the ingredients cold until they hit the oven’s heat.
These scones will expand quite a bit in the oven, so make sure they’re separated by about 2″ or more. It’s not the end of the world if they end up touching while baking though.
This is optional, but I like to brush the tops with a bit of non dairy milk before baking to help the scones brown. I love a good crispy top!
Once the scones have cooled to room temperature, you can choose to glaze them. They’re good without the glaze, but adding one makes them look a bit more polished and professional.
And while you must embrace the rustic when making scones, uneven shapes and spillage is part of the game, we’re not against a little flourish to finish them off!
A simple powdered sugar and water mixture does the trick. Drizzle it over in zig zagging lines, or let it puddle and pool over the tops of the scones.
Raspberry scone variations:
These scones are great with just raspberries, but I love adding some extract to amp up the flavor.
While vanilla extract is classic, and can be added to enhance the deliciousness of the scones, if you have it add almond extract for the best, out of this world, raspberry scone experience!
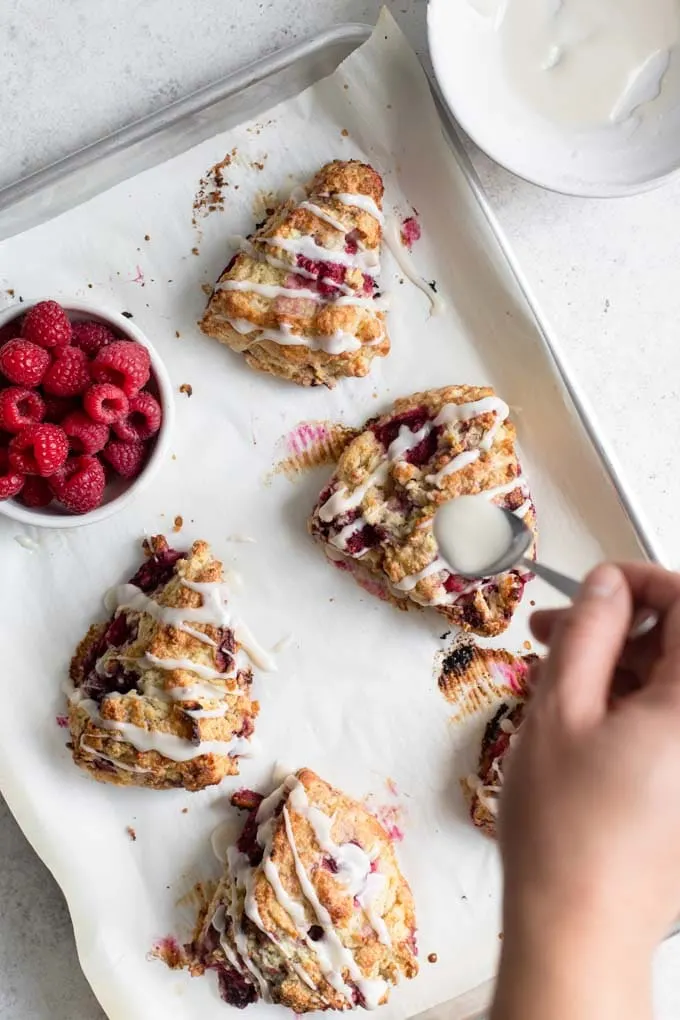
And while you could win awards with these vegan almond raspberry scones, sometimes I’ll go a step further and add a bit of chopped crystallized ginger.
You could do either almond extract or crystallized ginger, but don’t mind if I do both! Almond Ginger Raspberry Scones is where it’s at yo.
Storing and reheating your raspberry scones.
Scones are best the day you bake them. If you can enjoy one while it’s still warm, that’s really a treat! But if you are just 1 or 2 people and need to eat these over the course of a few days that’s totally ok!
I keep my scones at room temperature in a sealed storage container (usually a rectangular pyrex).
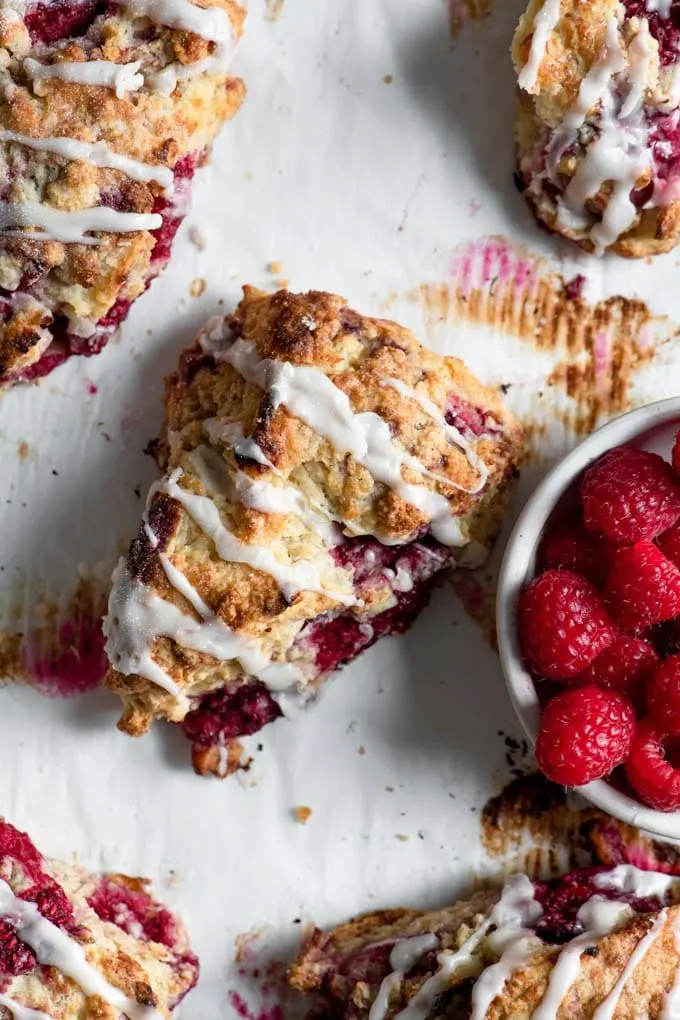
You can keep them at room temperature for 2 days, if you’re not going to eat them that quickly I’d refrigerate or freeze the scones. If freezing put in a freezer bag.
Before eating leftovers, toast them! I use a toaster oven and the toast function, but you could also stick them in your oven, preheated to 375 ºF for several minutes to warm them. Check them at 3 minutes, but it will probably take at least 4 to toast back up.
If you freeze them, let them defrost for about 20 minutes or more before putting in the toaster oven or preheated oven. They’ll take longer to warm up.
If you make these vegan homemade raspberry scones, leave a comment below and rate the recipe on the recipe card. And please share your photos with me on Instagram, tag @thecuriouschickpea and #thecuriouschickpea. I love seeing your recreations!
WANT MORE DELICIOUS VEGAN RECIPES?
SIGN UP FOR MY EMAIL NEWSLETTER & FOLLOW ME ON INSTAGRAM, FACEBOOK, AND PINTEREST!
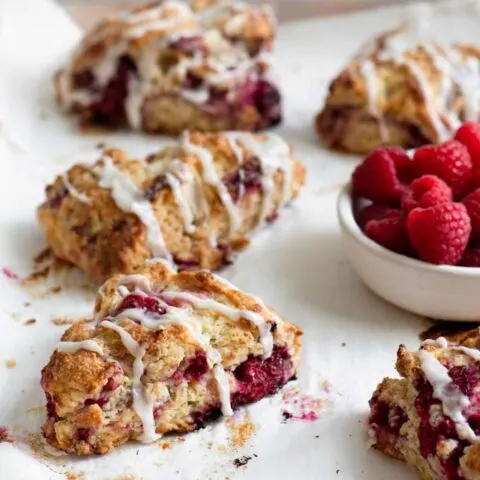
Vegan Homemade Raspberry Scones
These delicious homemade raspberry scones are so easy to make! Enjoy them as is or add some almond extract for an almondy treat. They're also great with added crystallized ginger!
Ingredients
- 1/2 cup (120g) non-dairy milk (soy, oat, or almond is best)
- 1 tsp (5g) apple cider vinegar
- 2 cups (250g) all purpose flour
- 1/4 cup (48g) sugar
- 1 tbsp (14g) baking powder
- 1/2 tsp (2g) salt
- 6 tbsp (84g) cold vegan butter
- 1/2 tsp almond or vanilla extract (optional)
- 1 cup fresh or frozen raspberries
- 2 tbsp minced crystallized ginger (optional)
Glaze
- 1/2 cup powdered sugar, sifted
- 1 tbsp water
Instructions
- Preheat the oven to 400 ºF.
- Measure out the non-dairy milk and add the vinegar. Set aside for 5-10 minutes to make the buttermilk.
- Add the flour, sugar, baking powder, and salt to a large mixing bowl. Whisk together to combine.
- Cut the cold vegan butter into the dry mixture using a pastry cutter or two opposing butter knives. When it resembles a sandy, crumbly mixture and the largest pieces of butter are about pea sized, add the vegan buttermilk and extract (if using).
- Gently mix the wet ingredients into the dry with a large spoon or silicon spatula. It should start to clump into larger pieces. If there are dry, powdery areas left add a bit extra milk in 1-2 teaspoon increments to those areas.
- Once the scone dough is just starting to mix together, add the raspberries and ginger (if using) and gently fold in.
- Turn the dough out onto a clean counter, lightly floured if your dough is sticky. Gently knead the dough until it comes together, then shape into a disc, about 6-7 inches in diameter. Cut into 6 pieces.
- Arrange the cut pieces onto a parchment lined baking tray. Optional: place scones in freezer for 5-10 minutes while oven finishes preheating. Immediately before baking brush the tops with a bit of additional milk to help them brown (if desired) and bake for 20-22 minutes or until the tops are golden.
- To make the glaze if using, mix together the sifted powdered sugar and water. It should be stiff but also drizzle slowly off a spoon. Add more water or powdered sugar to get the desired consistency. Drizzle over the scones once they have cooled to room temperature.
Notes
To properly measure your flour by volume: whisk the flour in its container to undo any settling, then scoop with the measuring spoon and level using the back of a knife.
Recommended Products
As an Amazon Associate and member of other affiliate programs, I earn from qualifying purchases.
Nutrition Information:
Yield: 6 Serving Size: 1Amount Per Serving: Calories: 348Total Fat: 12gCholesterol: 0mgSodium: 540mgCarbohydrates: 54gFiber: 3gSugar: 19gProtein: 5g
Nutrition is calculated automatically so should be used as an estimate.



Emily
Friday 6th of December 2024
Have you had anyone try this using gluten free flour instead of the regular flour?
Deb
Thursday 18th of February 2021
These scones are fabulous! Hubby said he didn't know a raspberry scone could taste this good. I used almond extract as suggested and the combination is divine. Can't wait to make another batch with ginger this time.
Alicia Vizuet
Monday 21st of September 2020
Thank you for the great recipe. I was able to find the vegan butter by Miyoko's Creamery. Absolutely amazing. I already made them twice with raspberries and bluberries. Thank you again!
Barbara Carroll
Saturday 29th of August 2020
I made two batches of these scones today, both were absolutely delicious. For the second batch I added lemon zest to the scone mixture as well as the icing. Thank you Eva for wonderful this recipe.
Gina
Tuesday 30th of June 2020
Can you freeze half the batch to bake later? We love the recipe but enjoy them fresh?